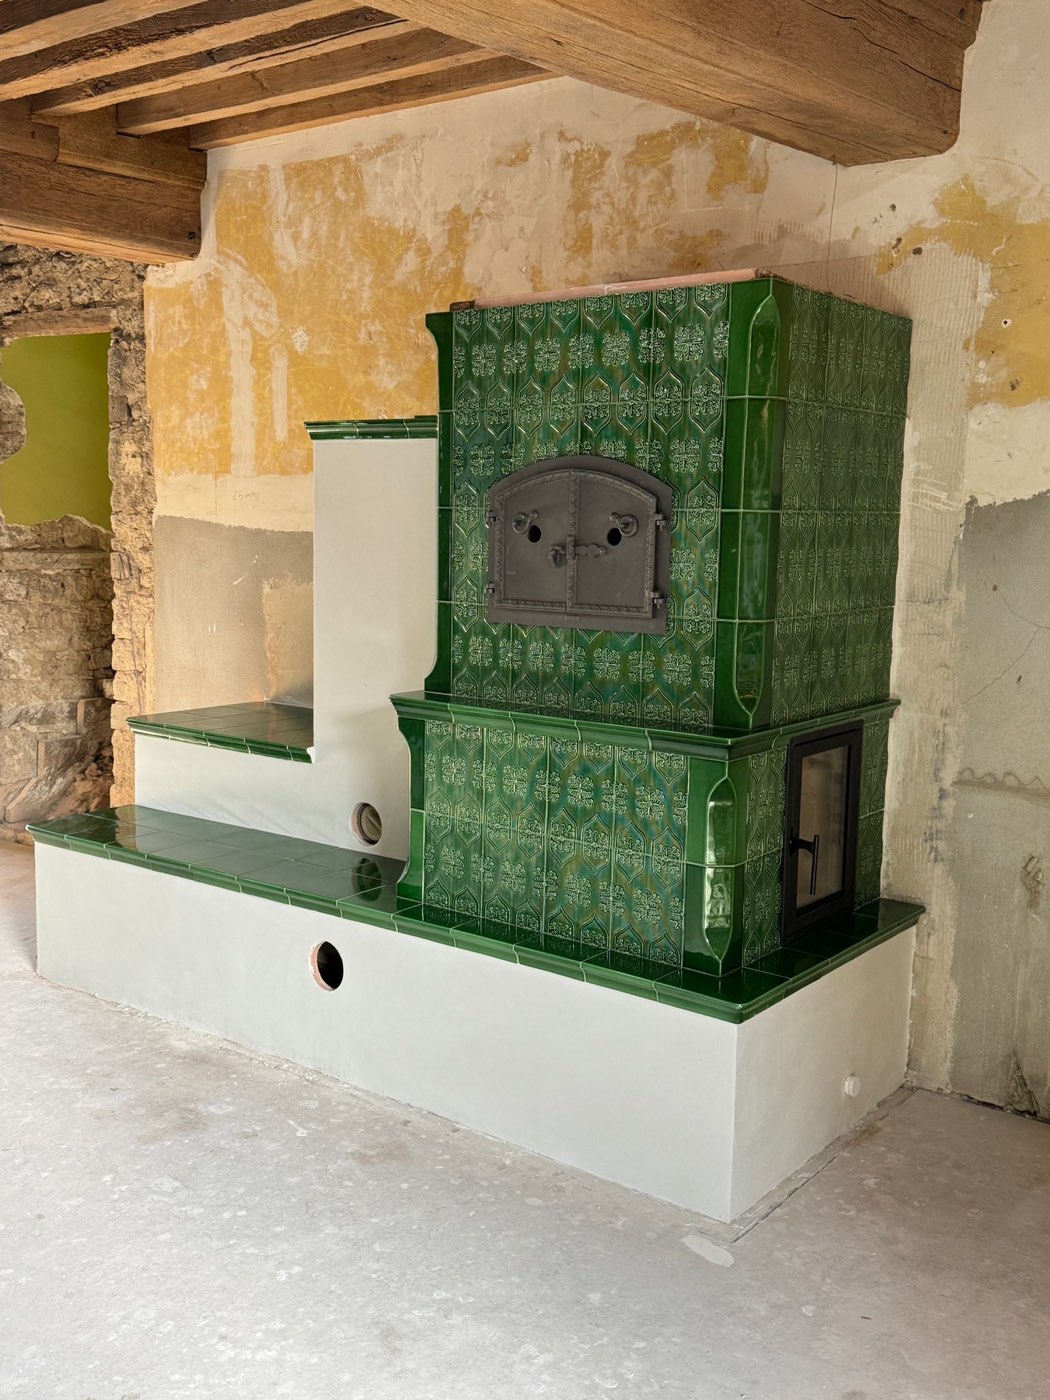
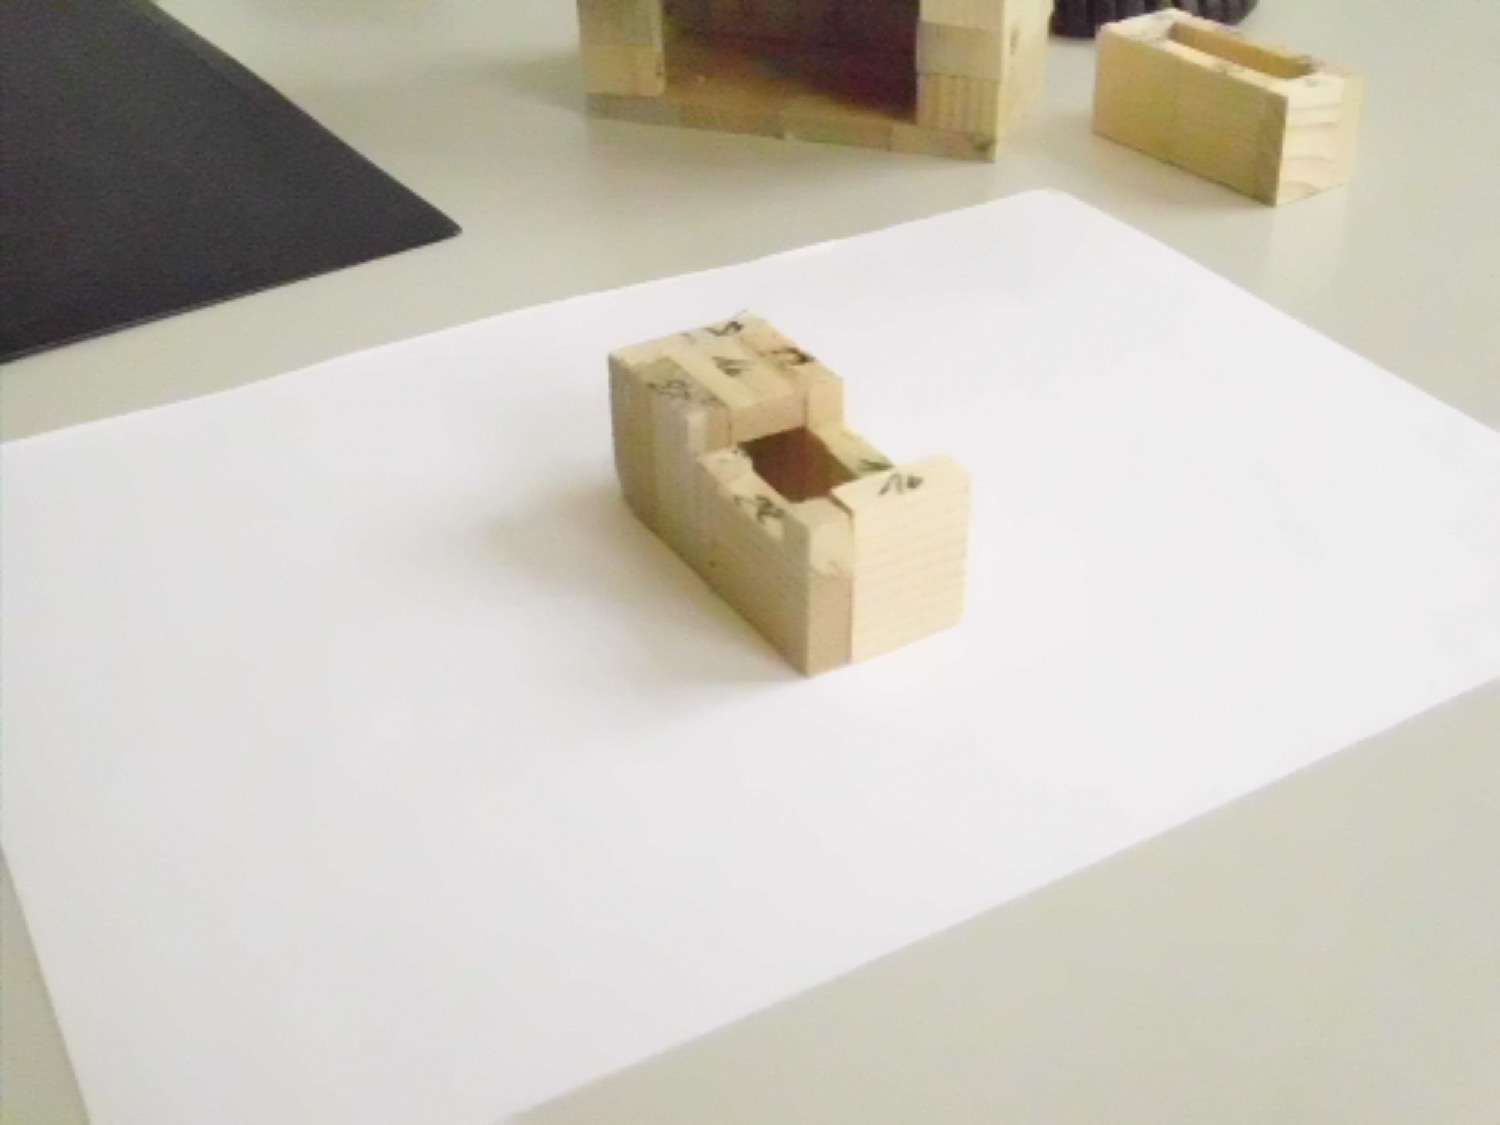
Today, a bespoke heater is drawn in three dimensions and approved on screen. Before that — and during the workshop’s first years — it was approved on a wooden model, built block by block to scale.
The principle is simple and demanding: one wooden block per refractory element, cut to scale. You build the model as you will build the heater, in the same order, and you discover at the table the problems you would have discovered on site — a passage too narrow, a height that does not work out, an element that cannot go in once its neighbours are laid.
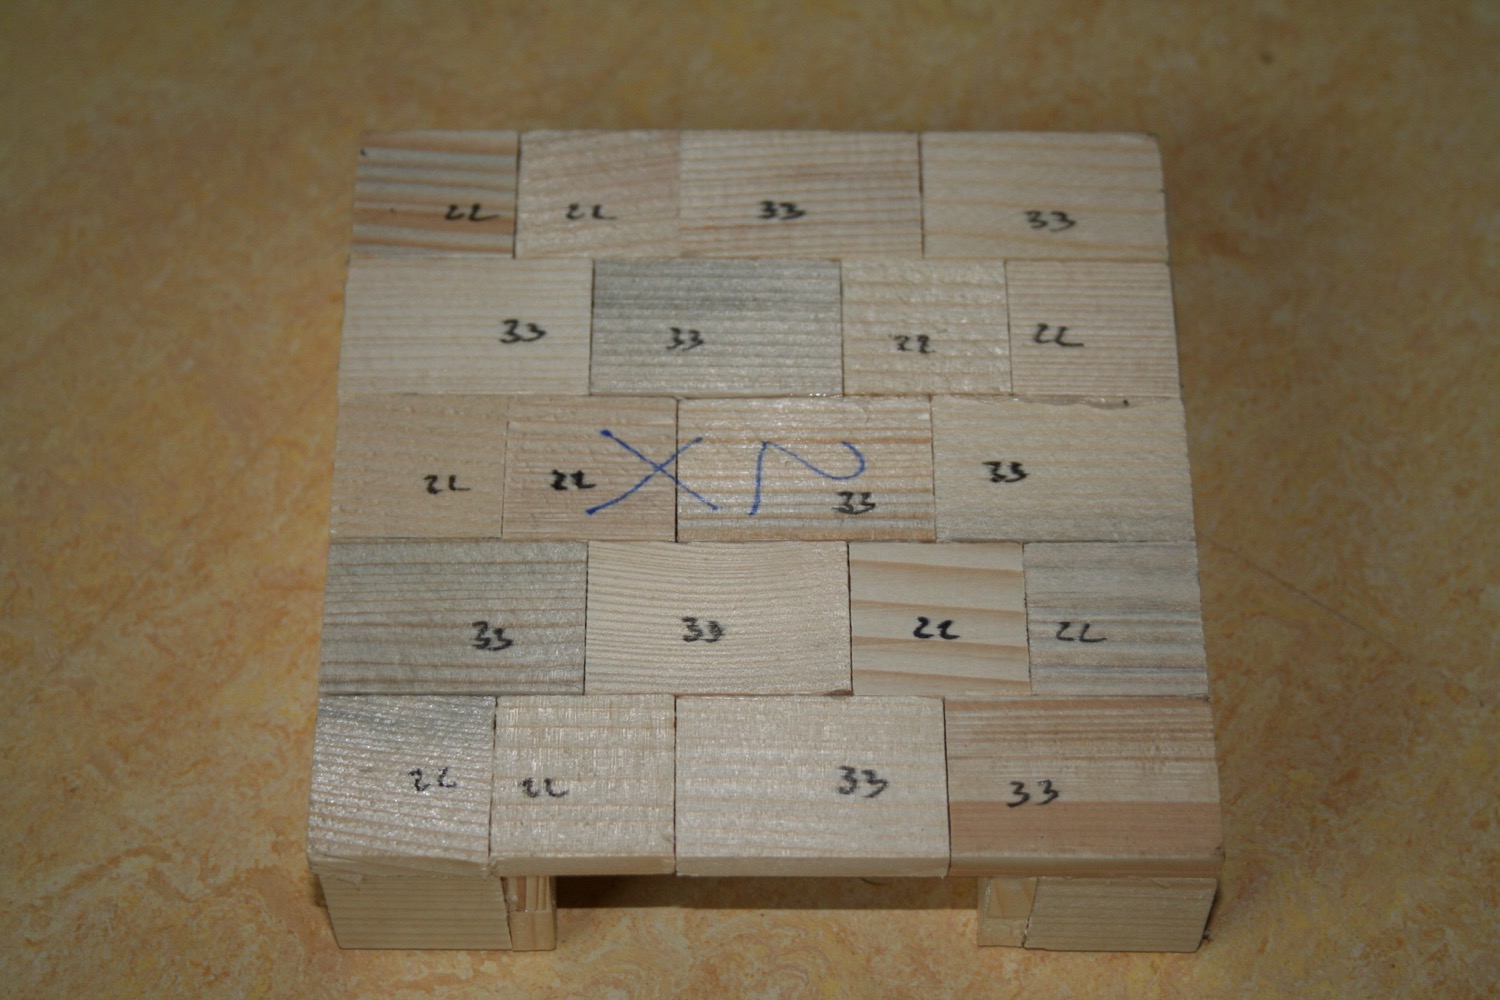
The blocks are numbered in pencil. These numbers do not stay on the table: they go onto the bonding plan that goes with the project, and are found again marked on the real bricks at assembly time. So the model is not an illustration — it is a working document.
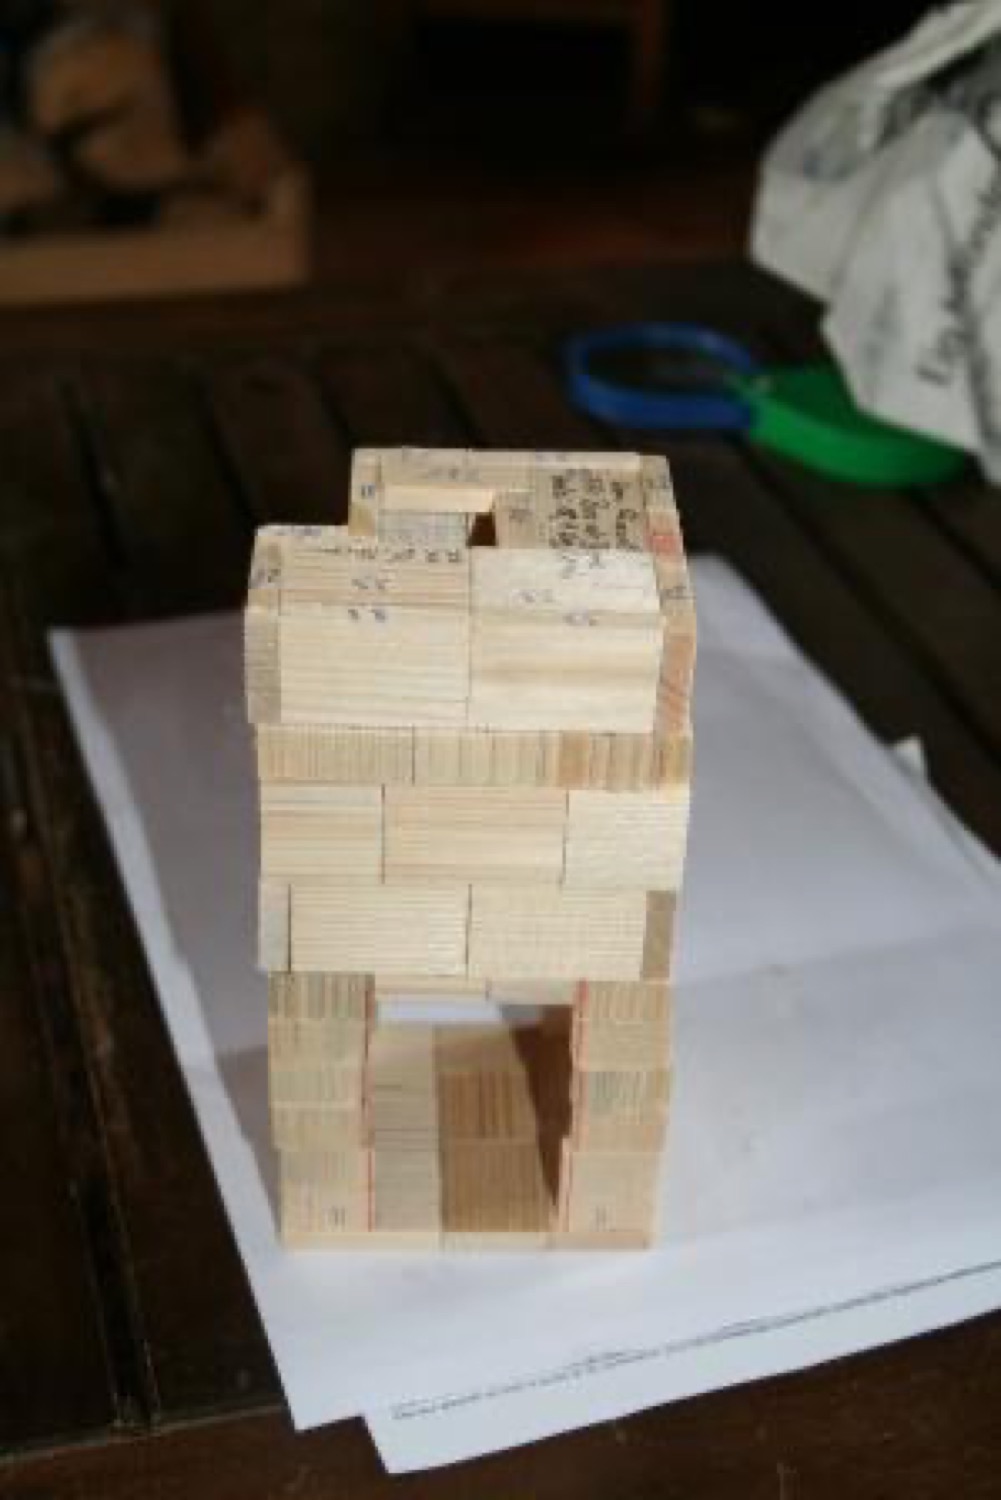
They are found in four project files from 2012 and 2013. The method disappeared with 3D modelling, which does the same thing faster — but the model had one advantage the screen does not: it could be picked up, taken apart in front of the customer, and placed on the kitchen table where the heater was going to be built.